Importing Data |  |
Importing Data
Data can be imported into the SourceTap CRM from comma separated (CSV) flat files. The system supports importing of leads, accounts, contacts, and opportunities. The first line of the CSV file should contain header information with the names of the fields being imported. An example import file is shown below
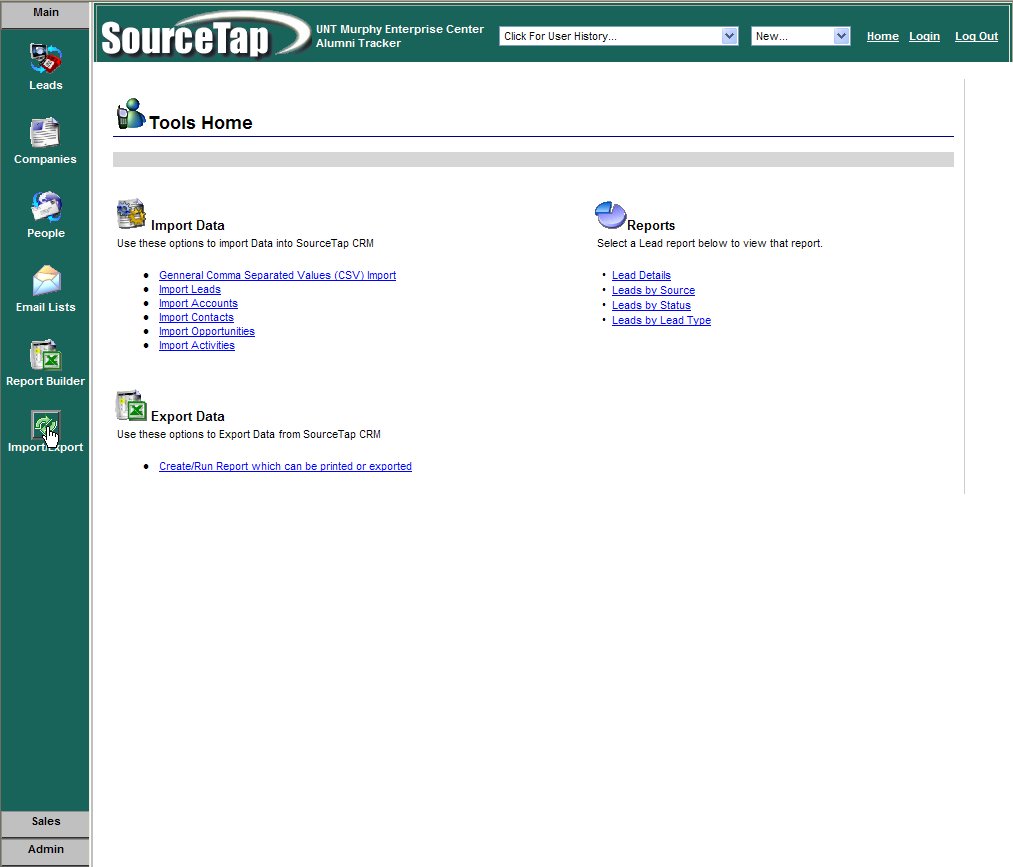
To import a file choose the Import/Export option from the main menu

From the Import Data option, choose the type of data you want to import. It is recommended that accounts and contacts be imported as leads first and then converted to accounts and/or contacts, rather than directly into accounts and contacts. The reason for this is that the import process will import all data as new records. It does not attempt to match imported data to existing data in the system. On the other hand, the lead conversion process will attempt to match the lead to be converted with existing accounts and contacts, and it will give you the option to update existing information or convert the lead into new records. The lead conversion can be done on a single lead or on a list of leads.
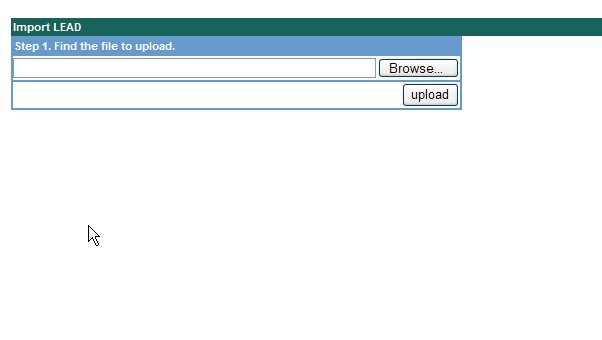
The first step of the import process is to upload the file to the server.

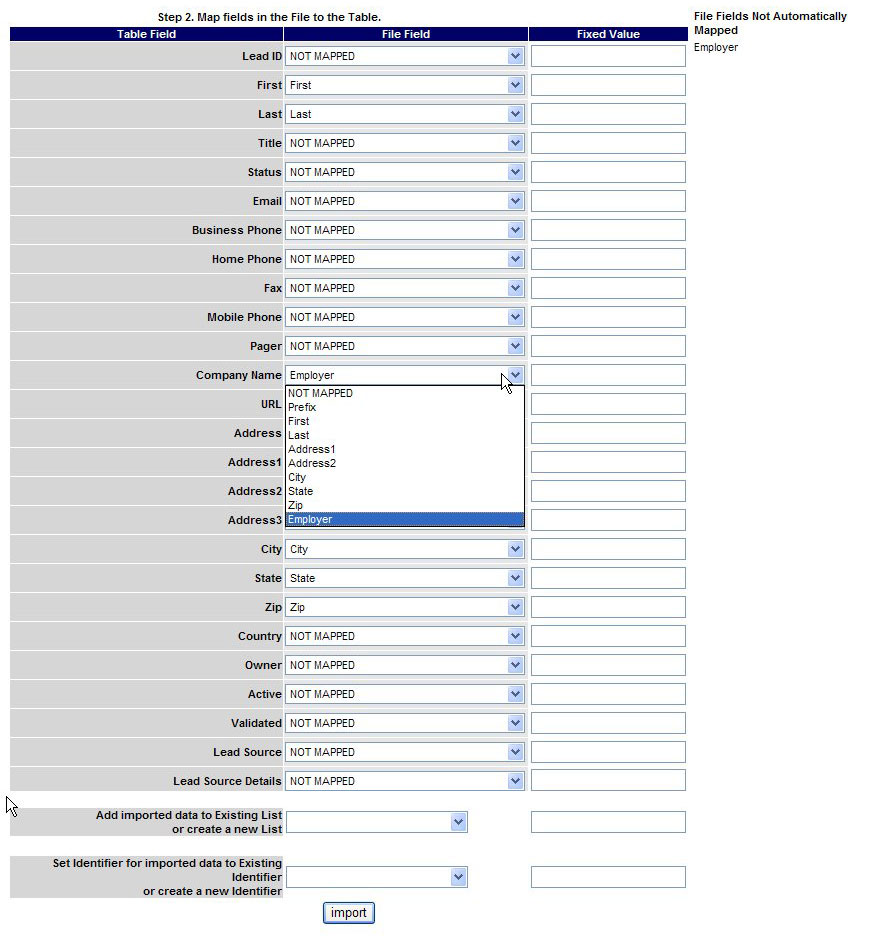
Once the file is uploaded, you will be asked to map the columns in the import file to the fields in the database. The system will attempt to automatically map fields by matching the column names in the first row of the CSV file to field names in the database.

You should verify that the field matching is correct before proceeding. The mapping will match fields based on the first field in the database that contains the text in the column header label, so it may not always map fields correctly. In the file listed above, the two columns in the import file: "Address" and "Address2" should be mapped to "Address1" and "Address2" in the database. However, there is also an "Address" field in the database, so the "Address" column in the file is initially mapped to "Address". In order to fix this, you should change the "Address" field to "NOT MAPPED" and map the "Address1" database field to "Address" from the file.
If the column label in the file doesn't match any database fields, the screen will show the unmatched columns in the "Fields Not Automatically Mapped" area of the mapping screen. You should determine if any of the unmapped columns need to be imported, and if so, you should set up the mapping before proceeding. The mapping screen lists all of the fields in the database, and for each field, there is a drop down containing all of the columns from the import file.
In addition to mapping input columns from the CSV file to the fields in the database, you can also set fields in the database to constant values by filling in the "Fixed Value" field on the screen. This is usefule in cases where you want to set a field in the database such as "Lead Source" to a constant value.
At the bottom of the screen, you are giving the ability to add the imported data to a list. You can either add the data to an existing list by choosing one of the existing lists from the dropdown, or you can create a new list by entering a list name in the text field next to the dropdown. You would typically add imported data to a list if you wanted to perform some activities on the items in the import file as a group. Currently, this is primarily used with the mail merge functionality, which requires a list to perform the merge against. You can also create lists after importing the data by creating a query, but this assumes that you have the ability to define a query that will match the records that have been imported.
You can also use identifiers to tag imported records. Leads, contacts, and accounts can by associated with identifiers, which make them easier to find and group together. At the bottom of the import mapping screen, you are given the option to set assign an existing identifier to the imported record or to create a new identifier and assign it to the imported records.
Once you hit the "import" button, the import process will begin. Once it is complete, you will be given a message telling you the number of records imported and the elapsed time of the import


